Post by b1bflyer on Jan 6, 2015 23:03:05 GMT
I was asked after posting my Phalanx on the Unofficial Robotech RRT Facebook page about how I prepare and remove seams and gaps so I thought it best to post here and not let the tutorial get lost in Facebook-land.
I wanted to get to this sooner but I finally managed to get some time to get photos and post.
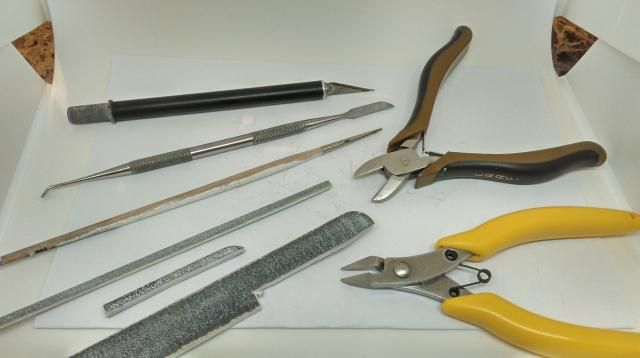
Starting off, here are the tools, glue and putty I typically use for assembly. I bought a pack of sanding sticks on amazon/ebay, but if you have a very sharp utility knife, you can trim down an emery board like I did to make it narrow enough to fit between the Defender cockpit and the front/back of the Destroid legs.
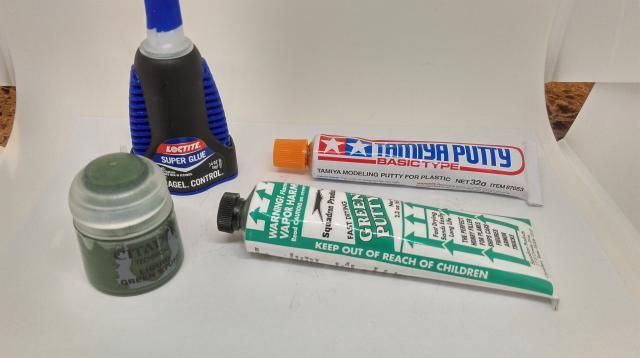
I'll skip over assembly but I will add that the reason I use a gel control superglue is that it does fill small gaps at the seams and in my opinion reduces the amount of work with the putty or filler.
Here's the Defender I assembled and then using the Tamiya putty and my putty knife, worked it into the gaps while intentionally leaving a layer at the surface. Putty will shrink when cured and I would rather not have to apply another layer and let it cure if I don't have to.
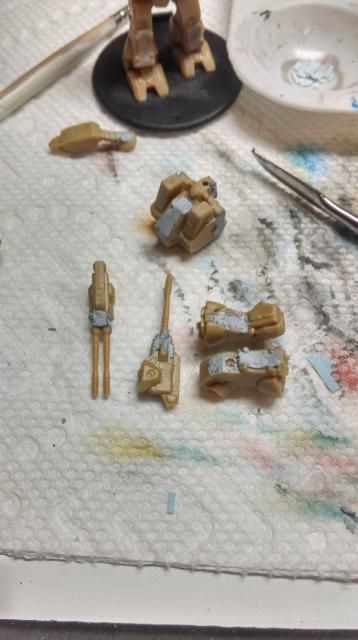
I like to let it dry overnight so I don't have any surprise shrinking, but after a few hours it's fine to work on if you wish. From here I take my sanding sticks and work down the material. I'll alternate between the rough and fine grit depending on how much material I have to remove. You can also carefully use a sharp hobby blade to scrape or trim areas that need it. This process will mean that some material will remain in the edges, but I feel the slight loss of detail there is worth not having the large seams.
Additionally, I'm using Citadel Liquid Greenstuff to fill the vents on the hips as I know I won't get putty out of that area easily and keep much detail. Work in layers thinning the greenstuff slightly with water and then use the fine sanding sticks to take out any material.
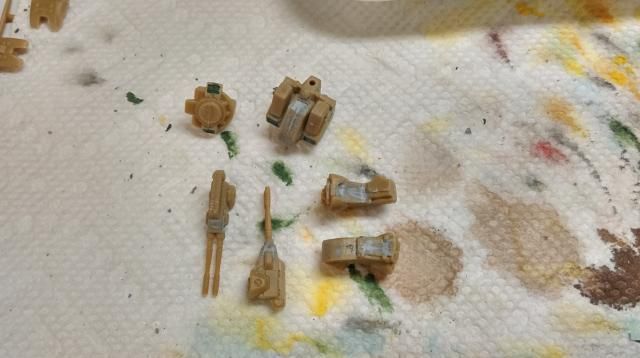
Assuming you're happy with the filling work, you can now assemble your model and use greenstuff to fill any touchup areas you find.
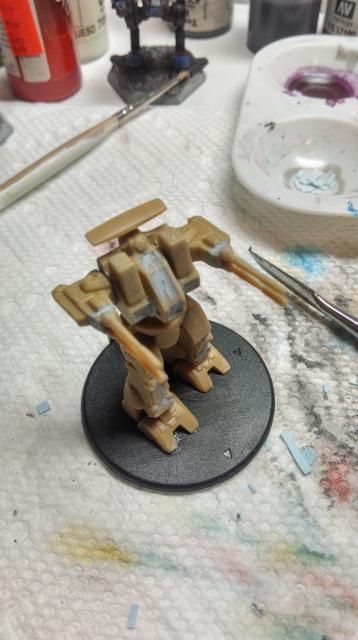
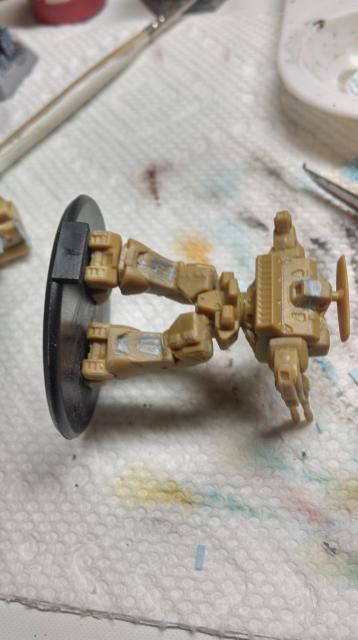
This Defender and Tomahawks are ones I assembled before the tutorial pictures and as you can see I had a lot of liquid greenstuff touchups to make.
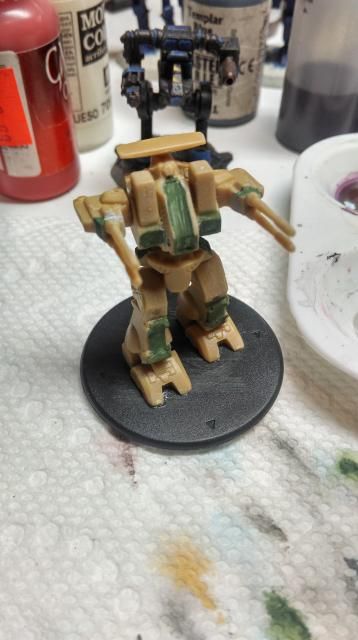
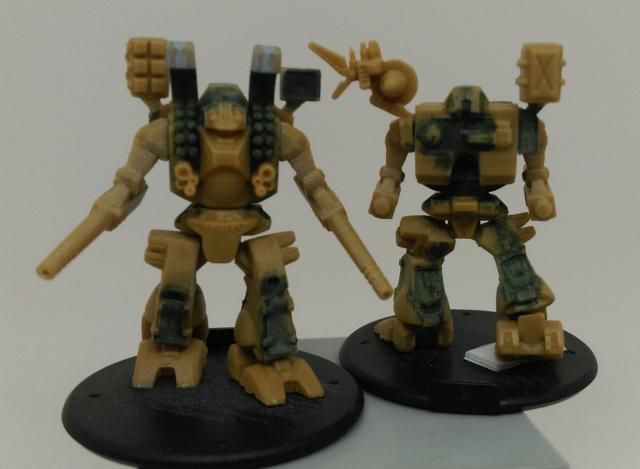
Now you can prime your miniature and take one last look to see if you're happy with the result. If not, again use some liquid greenstuff and sand the excess. A brush on primer will spot prime the area you work so you don't need to spray the entire miniature again.
If you have any questions or techniques you find that work well, please let me know as this is a new process for me and anything that will improve the quality of the finished model and cut down on time spent preparing is always a bonus.
Cheers,
Ryan
