Post by Max on Sept 22, 2014 2:14:15 GMT
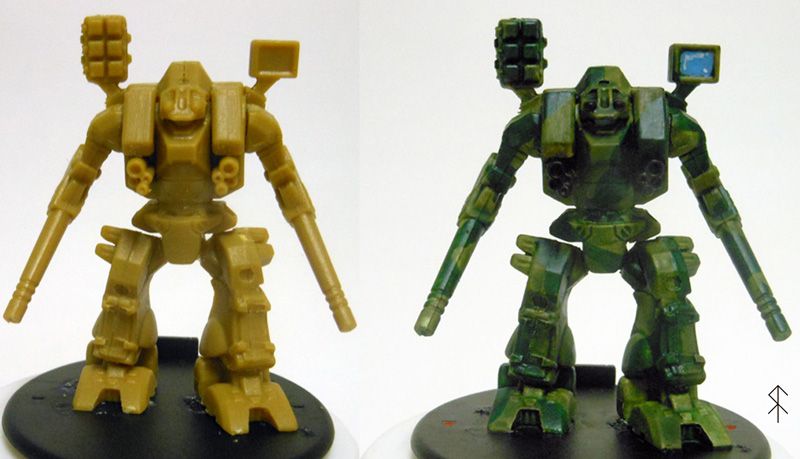
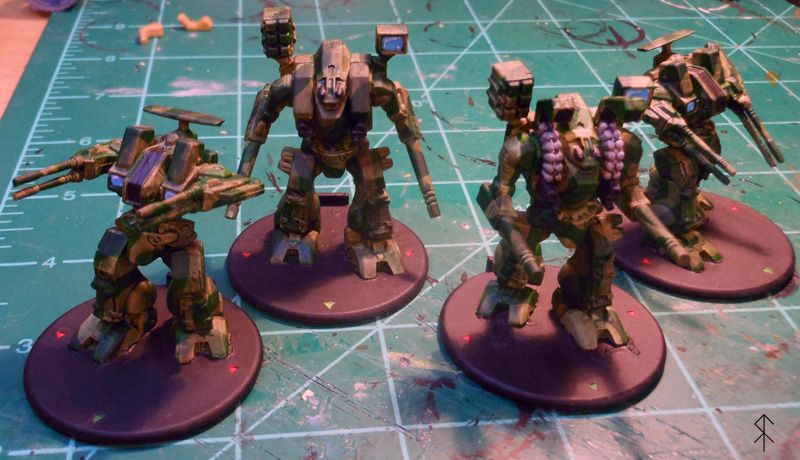
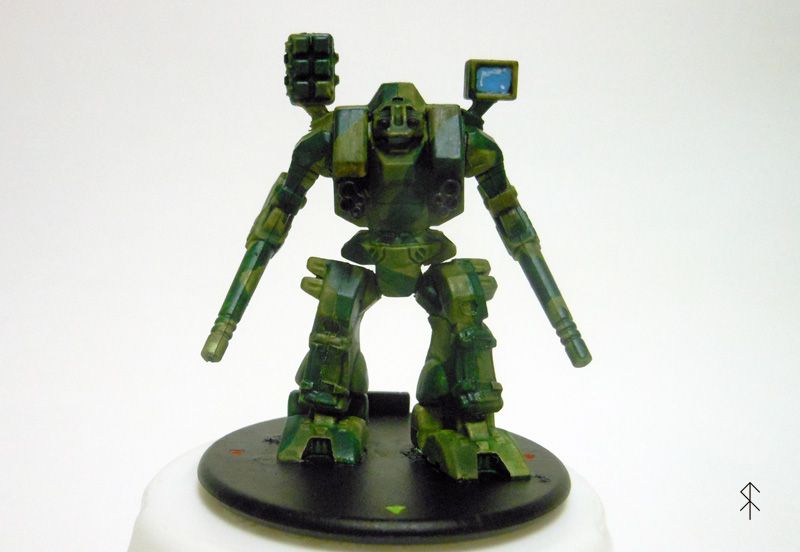
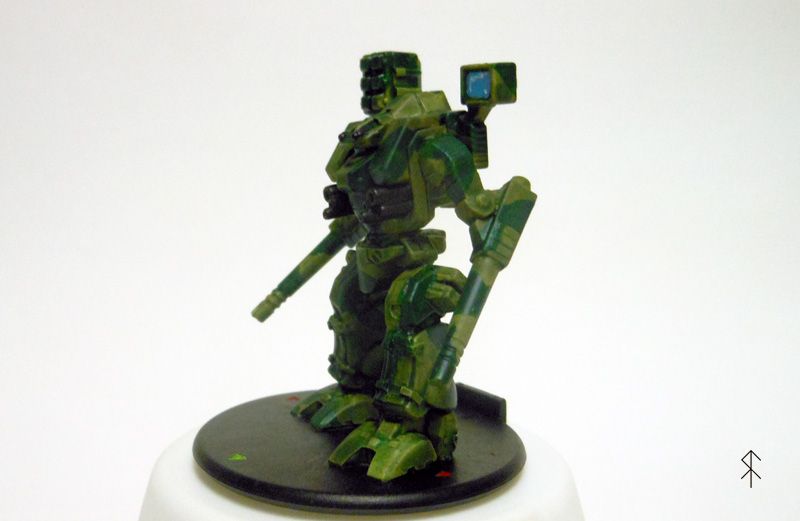
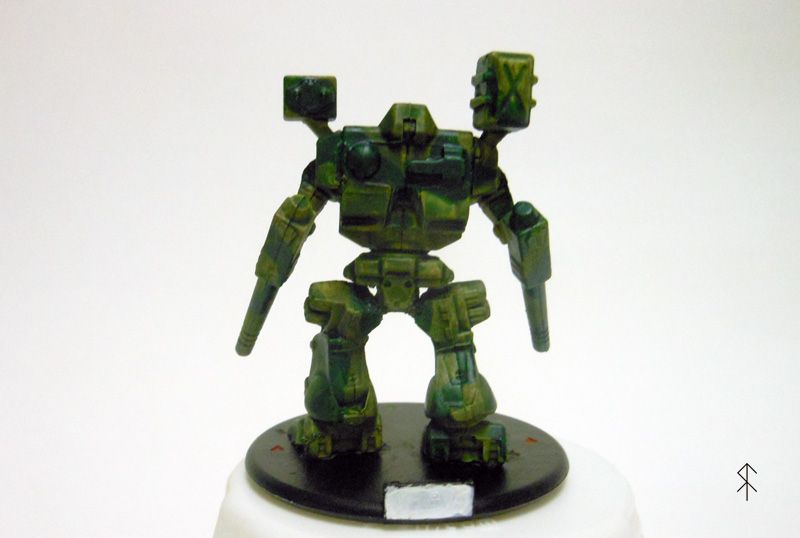
This afternoon I painted my very first Robotech Tactics model, a Tomahawk Destroid.
Front:
Left Oblique:
Rear:
Right Oblique:
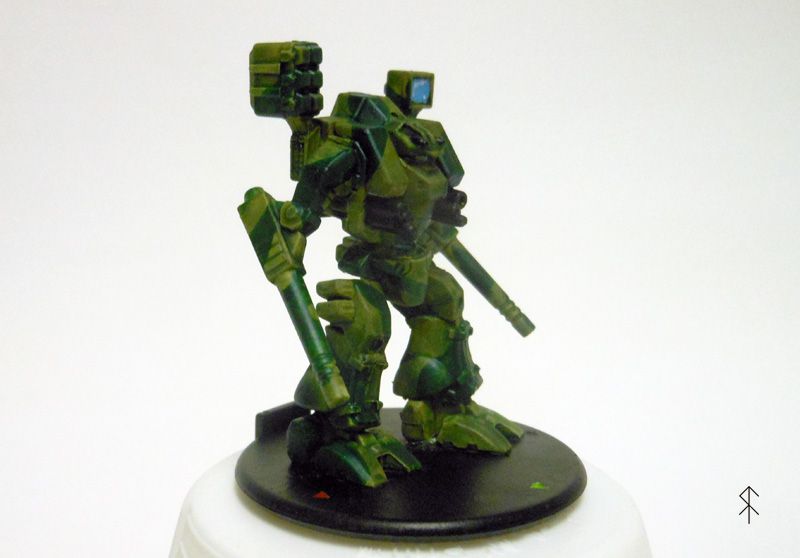
To show the coloured firing arc pips:
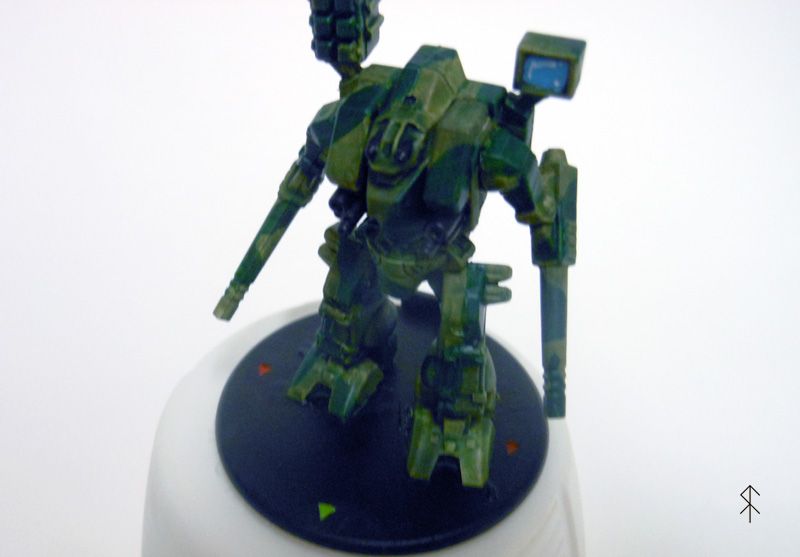
I'm not terribly good when it comes to camouflage, but I didn't want to do the normal solid colour schemes. One reason for that is that the camouflage pattern should help hide things like mold lines and where I screwed things up during assembly. It's also just more interesting to me to look at.
I undercoated in Krylon Flat White. I was going to use the Testor's Model Primer originally because it's a finer spray and I was afraid of obscuring some of the more shallow details, but I couldn't find any in the local stores and didn't want to drive out of town today. I use regular Krylon spray paint for all my other base coating anyway, so I didn't feel too fussed about it
My base coat was Reaper's Olive Drab. It may have been a mistake to use a Reaper paint for something meant to be shown off to the KS backers, since I normally use Citadel and am not entirely used to Reaper paints (they mix and apply differently.) But I really like the Olive Drab colour and didn't have an equivalent in Citadel on hand, so there we go.
After basing I washed the whole thing in a heavily applied Citadel Thraka Green wash, which is an old wash that is no longer produced. I'm not a very good painter, so I really rely on washes to help me out.
The camouflage pattern is Citadel Dark Angels Green. I didn't have a plan when I started, just started off making some high spots on the rear torso dark. Then I just sort of winged that mother.
A few spots, notably the gun clusters, I filled in with a Vallejo Black, which I also used to repaint the base black. My original idea for the base was a medium gray colour, but what I had wasn't covering my paint splatters from painting the mecha, so I switched to the black because I didn't feel like going through the trouble of multiple cover layers to get an even shade.
Also I decided it would be useful to fill in the firing arc pips with colour.
There is a little plate like thing on the rear of the bases that I assume is meant to be a place to add a designation for the particular mecha so you know what model goes with what card during play. I painted that a heavy white so that I can go back with a Sakura pigma pen and write in a number or name for the mecha when I get a better feel for how my army is going to shape up.
Oh yeah, the search light I layered up with light brown to ice blue, then added the white for the reflection effect (one of a very few special effects I ever attempt.)
For the pictures my camera isn't great and neither is the lighting in my kitchen. In Photoshop I used the auto-colour function, then bumped the brightness to +20 and pulled the contrast down -50. This was to help highlight the difference in the greens of the camouflage. The two oblique pictures are probably the better representations of what the model looks like to the naked eye.
~Thanks for reading~
EDIT: I got so excited about painting this afternoon that I completely skipped scraping the mold lines before I applied the undercoat. I will try to be more restrained in the future...
Front:

Left Oblique:

Rear:

Right Oblique:

To show the coloured firing arc pips:

I'm not terribly good when it comes to camouflage, but I didn't want to do the normal solid colour schemes. One reason for that is that the camouflage pattern should help hide things like mold lines and where I screwed things up during assembly. It's also just more interesting to me to look at.
I undercoated in Krylon Flat White. I was going to use the Testor's Model Primer originally because it's a finer spray and I was afraid of obscuring some of the more shallow details, but I couldn't find any in the local stores and didn't want to drive out of town today. I use regular Krylon spray paint for all my other base coating anyway, so I didn't feel too fussed about it
My base coat was Reaper's Olive Drab. It may have been a mistake to use a Reaper paint for something meant to be shown off to the KS backers, since I normally use Citadel and am not entirely used to Reaper paints (they mix and apply differently.) But I really like the Olive Drab colour and didn't have an equivalent in Citadel on hand, so there we go.
After basing I washed the whole thing in a heavily applied Citadel Thraka Green wash, which is an old wash that is no longer produced. I'm not a very good painter, so I really rely on washes to help me out.
The camouflage pattern is Citadel Dark Angels Green. I didn't have a plan when I started, just started off making some high spots on the rear torso dark. Then I just sort of winged that mother.
A few spots, notably the gun clusters, I filled in with a Vallejo Black, which I also used to repaint the base black. My original idea for the base was a medium gray colour, but what I had wasn't covering my paint splatters from painting the mecha, so I switched to the black because I didn't feel like going through the trouble of multiple cover layers to get an even shade.
Also I decided it would be useful to fill in the firing arc pips with colour.
There is a little plate like thing on the rear of the bases that I assume is meant to be a place to add a designation for the particular mecha so you know what model goes with what card during play. I painted that a heavy white so that I can go back with a Sakura pigma pen and write in a number or name for the mecha when I get a better feel for how my army is going to shape up.
Oh yeah, the search light I layered up with light brown to ice blue, then added the white for the reflection effect (one of a very few special effects I ever attempt.)
For the pictures my camera isn't great and neither is the lighting in my kitchen. In Photoshop I used the auto-colour function, then bumped the brightness to +20 and pulled the contrast down -50. This was to help highlight the difference in the greens of the camouflage. The two oblique pictures are probably the better representations of what the model looks like to the naked eye.
~Thanks for reading~
EDIT: I got so excited about painting this afternoon that I completely skipped scraping the mold lines before I applied the undercoat. I will try to be more restrained in the future...


